Monday, April 30, 2012

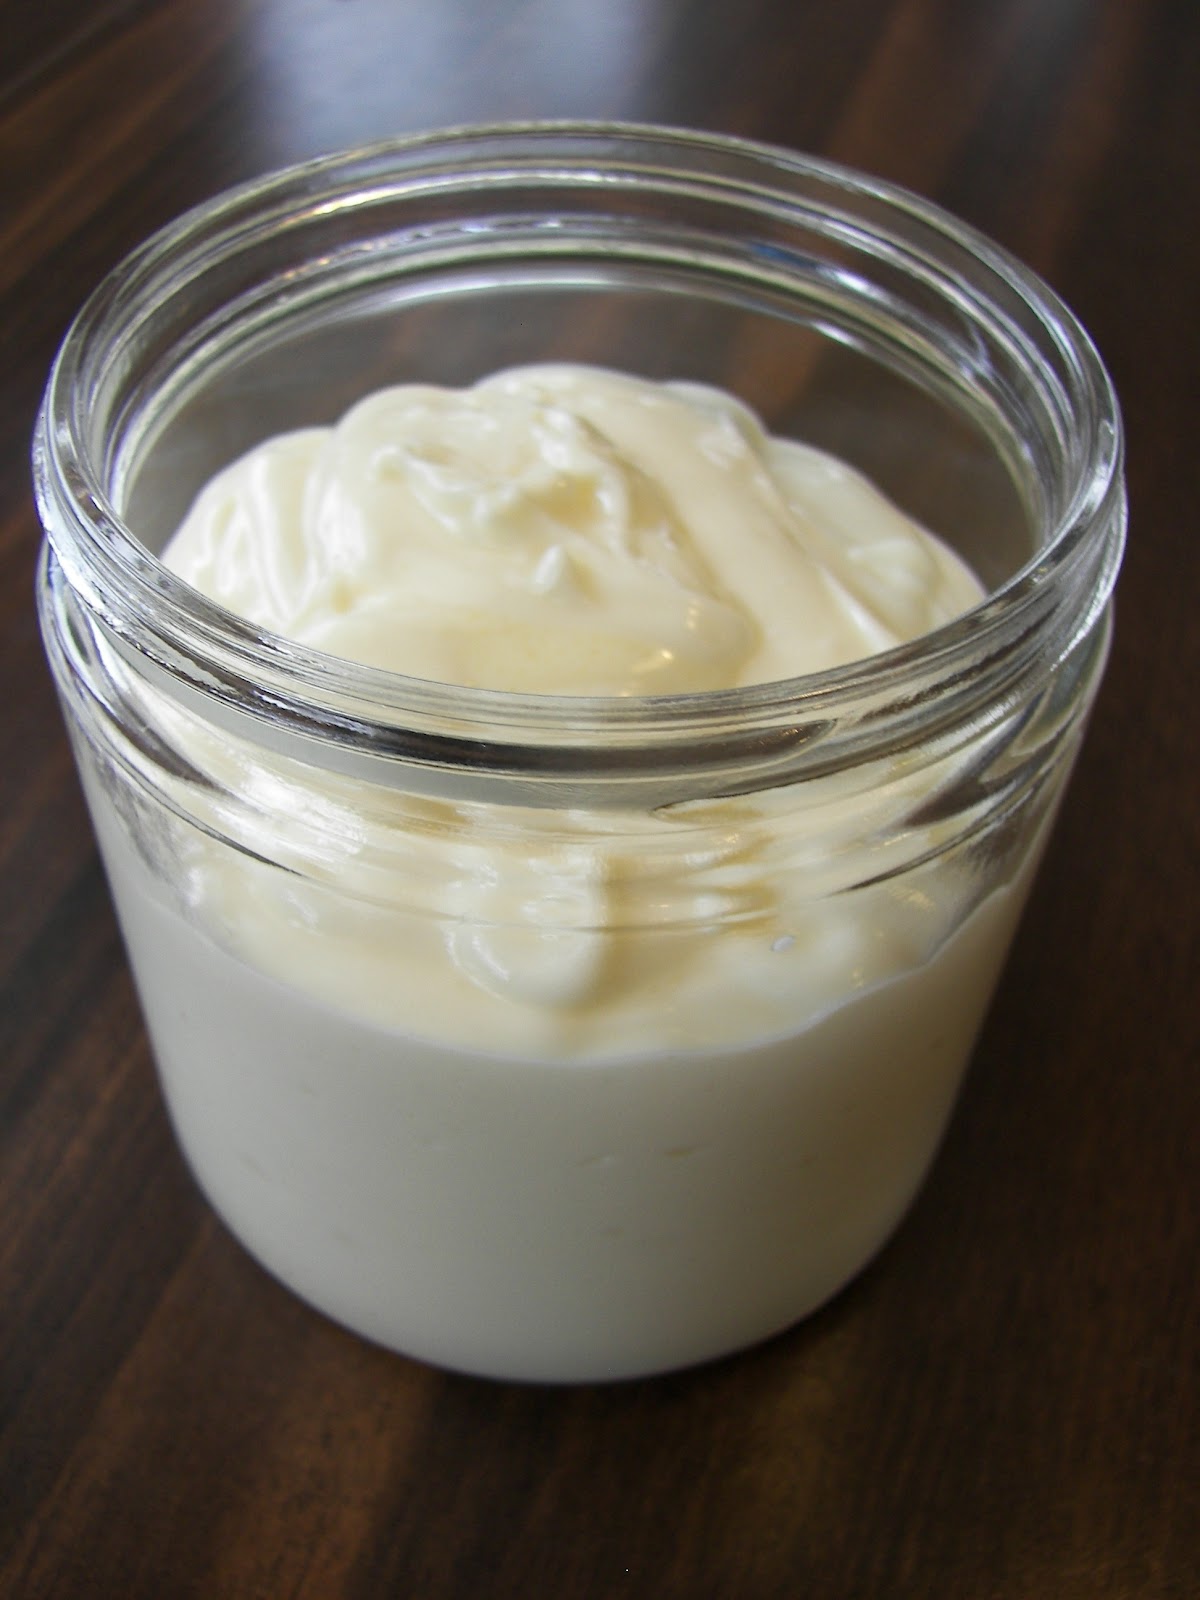
Home made mayo!


Many people think that eating healthy means giving up things like mayo, but it is simply not true!

Yes, the mayo you purchase at the store is horrible and full of weird chemicals and franken-foods you just don't want in your body. But you CAN make mayo yourself. Not only can you do it, but it is super easy!

Once you make mayo yourself for the first time, you will never buy it from the store again. Seriously, it takes less than 5 minutes to make mayo yourself.

The recipe I follow for making mayo I get from The Clothes Make The Girl.

Not only is the recipe available for free on her website, but it is also in her cook book, Well Fed, which I HIGHLY recommend to anyone doing a Whole30 or living the Primal / Paleo lifestyle.

What are you waiting for? Go make some mayo!

1 egg
1/4 cup plus 1 cup light olive oil (make sure you buy LIGHT olive oil because extra virgin will make your mayo very strongly flavored.)
2 TBSP lemon juice
1/2 tsp dry mustard
1/2 tsp salt

Blender OR Food processor. I always make mine in the food processor.

Directions:

Crack one egg into your blender or food processor. Add 2 TBSP lemon juice. Put the lid on your device and LET SIT for 30-60 minutes while the egg and lemon juice come to room temp. This is VERY important.

Once your egg and lemon juice have come to room temp, add in your 1/4 cup oil, mustard and salt, then whir together until well mixed, 20-30 seconds.

This next step will make or break your mayo.

VERY SLOWLY add in your remaining cup of oil while the mixture is whirling around in your food processor or blender. I am talking the smallest of drizzles here. A little more than dripping, but barely. Don't rush this and dump it all in at once, you will be mad at yourself! This step will take 2-3 minutes and work your triceps real good. (When I do this step I tend to get splattered a bit out the top hole of my food processor so I hold a napkin as a shield around the opening while drizzling in the oil. You may or may not experience this.)

If you've let your ingredients come to room temp and slowly drizzled your oil, you should have some well mixed fluffy mayo!

This mayo will stay good in the fridge for 1 week past the expiration date of your eggs.I made some about 2 weeks ago and it will be good until the first week of June. Plenty of time to eat it all!


Pin It!

Paleo banana pancakes


I have made these many many times and my kids LOVE them. They are so easy to make! And what I love is they are super simple, take only 3-4 ingredients (That you probably already have!) and they are super healthy. I also love that they don't have ANY almond flour or coconut flour etc. in them. Not that almond or coconut flour is bad, not at all - it can just be expensive, and when you're looking for a simple treat, like pancakes, it can take a lot of flour to make enough for everyone. So I love this recipe because it really is simple and it's really inexpensive to make.

When I make a single batch it makes about 4, but I usually double the batch (hello! I have 3 kids!) and I measure the batter into 2 TBSP piles, this gives me about 9 pancakes. I have not tried cooking these in a pan yet, but when I do I will let you know how they come out.  My 11 yr old loves to eat them plain, but my 7 yr old loves them cut up with pure maple syrup on top.

In case you need even more reasons to check them out, all you need for 1 batch is-
1 banana
1 egg
1/8 tsp baking soda
1 TBSP nut butter (optional)

Bowl
Fork
Spoon
Oven
Cookie sheet
Parchment paper

THAT'S IT! So go check them out already!!

How to make a single batch:
1.Preheat oven to 400 degrees
2.Mash 1 ripe banana in a bowl really well, add 1 tbsp nut butter, 1 egg and 1/8 tsp baking soda and mix well.
3.Spoon onto parchment lined baking sheet, about 2 TBSp of batter per circle, the batter will be pretty thin. (I found they tend to stick on some kinds of cookie sheets so you may want to spray the parchment with cooking spray or brush lightly with coconut oil).
4.Bake at 400 degrees for about 15 minutes or until golden brown.
5.Enjoy!


(I apologize for the poor photo. My kitchen isn't very bright, so it's hard to take great pictures when it's still dark outside.)
Pin It!

Hamburger helper

I've made this recipe once before and it turned out really good.  It felt like it was missing something, so after reading the reviews, I decided to add some allspice this time.

The format of this recipe on the original site isn't very user friendly - it is in paragraph form, so I will repost it here step by step. However, the original recipe is linked back at the top of this post. I also used ground bison instead of lamb.


1 lb ground beef
1lb ground lamb
1/2 onion chopped
1-2 cloves crushed garlic
1/2 cup beef stock
can of coconut milk
TBSP thai massaman curry
chopped carrots
1/2 large sweet potato chopped
2 tsp allspice (I added)
Frozen chopped spinach (I added)


Cook meat on medium low with 1/2 onion and clove or two of garlic.
Drain fat (If you want to, I did not).
Add beef stock to meat/onion mixture, can of coconut milk and a TBSP of thai massaman curry plus a couple chopped carrots and a large chopped potato. (Add additional spices of your choosing now)
Cover and simmer until veggies are soft.
About 10 minutes before serving toss in some frozen chopped spinach and stir to combine.
Serve and enjoy!

Your cost for this dish will really vary depending on what kind of meat you purchase. I already had some meat in the freezer. I think the bison was about $7 per 12oz (yikes!) and the organic beef was about $4 for 12oz The meat is going to be the bulk of your cost. Also you'll need to buy curry paste if you don't already have some. The veggies will be pretty cheap and you probably already have coconut milk in your pantry. This is one of those dishes that once you get the curry paste, you can use this as a sort of go-to meal when you don't have any other ideas. Curry paste is good in the fridge for about 2 years. It's really versatile and I bet would be great with other veggie combos, just be creative and use what you have on hand!

Pin It!

Home made nut butter


There will not be a cost breakdown for this post because the cost of making nut butter varies depending on what type of nut you buy, where you buy them and the quantity you buy.

But making home made nut butter is so easy, once you do it, you will never buy store nut butter again!!

You will need a food processor. I have this one.  (Thanks mom!)

I use dry roasted almonds with sea salt to make my nut butter. (Ingredients: Almonds, salt.) You are doing this at home yourself to avoid the unhealthy oils and additives they put in commercial brands of nut butter. So please, PLEASE, do not buy nuts that are roasted or baked in oils. It won't harm the process of making the nut butter, but nuts dry roasted with no added oils are much better for your health.

Steps:
Place 2 - 2.5 cups of nuts in your food processor.
Firmly attach lid.
Turn on (be prepared for a super loud noise as the nuts begin whirling around!)
Let process for about 6-8 minutes. Depending on how creamy you like your nut butter and how fast your food processor works.
Scrape your nut butter into a container with a tightly sealing lid and store in the fridge.

Your nuts will grind up pretty fast into what resembles almond meal, then will turn into what looks like a globby dough ball that will thunk around in your food processor. Do not be alarmed!! It may even get stuck a little and not move. If the glob has not moved in a couple minutes, turn the appliance off, use a wooden spoon or spatula and break it up a little, then return the lid and turn the appliance back on. I let mine go until it's VERY creamy, almost soupy. 

The nut butter will firm up in the fridge as it chills, so keep that in mind. 

I go through about one container a week. My kids eat almond butter and jelly sandwiches at school in their lunch. 

The entire process will take you 10 minutes or less and will result in delicious nut butter you made yourself!


Pin It!

Tuesday, April 17, 2012

Fire roasted bacon meatloaf

Meatloaf with bacon IN it?!? Why yes! The Civilized caveman comes through for me once again and we will be having bacon mixed with delicious beef for dinner.

Some of these items I already had around the house and are typical things you should have in your kitchen too. For these items I will not be adding a price.

1 lb beef: $3.52 (Mine is regular old store bought meat, not grass-fed like the recipe calls for. Without easy access to grass-fed meats, you do what you have to. Regular meat is better than nothing.)
1 lb bacon:  $3.00 (nitrate/nitrite free)
Onion: $0.49
Bell pepper: $0.52
Garlic cloves: $1.19 (for a tub of pre-peeled cloves)
Eggs: $2.29
Almond flour: $5.00 (I bought mine on close-out)
Oregano: You probably have this.
Salt & Pepper: You probably have this.

Total cost: $16.01 for 6 servings (Remember this is assuming you have to buy a new carton of eggs and don't already have garlic cloves at home from another recipe.)

Cost per person: $2.66 per person. (not including sauce if you choose to top your meatloaf with sauce)


I added a bit of Rao's pasta sauce to the top. I already had it in the fridge so I am not sure what I paid for it.

The kids dubbed this THE BEST meatloaf they have EVER had. Rating it 10% higher than Nom Nom Paleo's veggie/spinach meatloaf. We will definitely be having this one again!
Pin It!

Monday, April 16, 2012

Paleo creamy chicken soup

A crockpot recipe yay! I am sure we all have days where we just don't have the time (or energy) to whip up a meal at dinner time. Crock pot recipes are the perfect solution for that. (Unless you have some really great leftovers that is.)

Now this recipe was already budgeted on the original site. But I am going to still budget it here because things are priced different in different areas of the Country. Also, I will always link back to the original recipe so you can bookmark it.

I will give you my tip for bookmarking food recipes. I have created a bookmark folder in my browser called 'Food' and then within that 'Food' folder I have created sub folders called 'Breakfasts' 'Lunch/Dinner' 'Dessert' and 'Other' I also recently added another one for 'Budget'. When I find a recipe I may want to try, I bookmark it into the appropriate folder so that later it is easy to find. I hope that tips helps you organize your meal planning!


Ingredients:
Chicken: $4.79
Garlic salt: Already had but if you don't add about $1.50
Italian seasoning: $1.79
Basil: Already had this but if you do not add $1.50
Clove garlic: $1.19 (for a container of pre-peeled cloves)
14oz coconut milk: $1.07
14oz tomato: $0.99
Chicken broth: $2.52

Total: $15.35 for 6 generous servings plus leftovers. This was calculated assuming you need to buy seasonings.
Cost per person: $2.55


My review:
This was really tasty! I served mine on a bed of raw spinach leaves. I feel that it could use another half can of coconut milk because mine was not very soupy. However I also used 5 chicken breasts instead of four because my bag had five in it. I would definitely recommend this for an easy, inexpensive, delicious meal!


Pin It!

Sun dried tomato stuffed pork and zucchini noodles

This was my first time making either of these items, and one came out better than the other. We'll start with the pork recipe, which I got here.

Use a meat thermometer please! Mine cooked WAY longer than 25 minutes in the oven. Also my pork loin was not one giant loin I could butterfly, it was two smaller ones, so I just slapped the stuffed between them and tied the sides together. It worked just fine. I served mine on a bed of raw spinach. It was a little dry because of my cooking temp issues, but it was not terrible. But really, everything is better with sun-dried tomatoes.

Pork Loin: $7.94
Basil: $0.99
Tomatoes: $2.99
String: $2.35
Spinach: $3.00 (optional)

Total cost: $14.27 for about 6 servings (without spinach)
Cost per person: $2.37


I also made some zucchini noodles as a side of green.

2 large zucchini: $1.50
Fat of choice: Price will vary depending on if you choose Ghee, butter, coconut oil, bacon fat etc.
Salt
Pepper
Garlic powder/spices of choice

Everyone loved the zucchini noodles and I cannot wait to make them again!
Pin It!